As my daughter with Cortical Visual Impairment (CVI) has progressed further into Phase II, I find myself constantly searching for new ways to integrate her vision with everyday functions. There are all kinds of ways to visually adapt Rosalie’s everyday “free play” time (creating defined spaces, providing toys and an environment that address the ten characteristics of CVI, etc.), but one tool I created specifically for this purpose is: a felt wall.

What is a “felt wall,” you ask? Well, it’s exactly what it sounds like. Instead of making a “felt board,” I selected part of a wall in our play room to cover with felt. This provides a sturdy back-drop on which I can display any number of felt pieces.
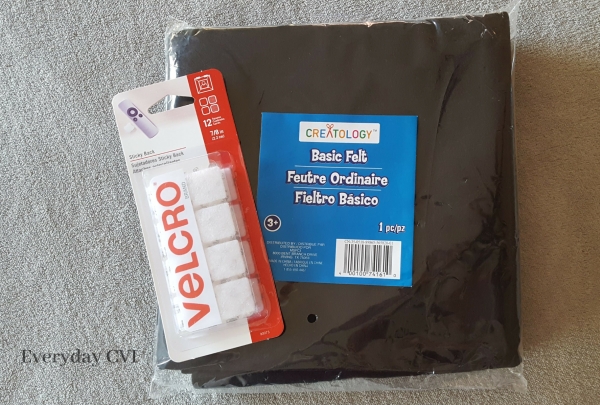
I began with a 36″ x 36″ piece of felt. Any solid color could be used, but I chose black with the goal of providing high contrast with different felt pieces (addressing the CVI characteristics of color and complexity).

If I wanted to use red felt shapes, I would not create a red wall; a child with CVI will have difficulty visually locating items that blend into the background or environment. Black is a versatile option since it provides high contrast with a variety of bright colors.
I decided to attach the felt to the wall with poster strips, since they provide a secure hold without potentially damaging wall paint.

I also purchased a stack of 9″ x 12″ felt pieces in order to create a variety of shapes and colors to display on the wall. I drew on the felt with permanent marker and used scissors to cut everything out.

And just like that, a felt wall was made!

Another reason I chose black felt is because I can remove all the felt pieces and use the wall to help block out visual distractions (complexity). In other words, the black felt wall is a natural extension of Rosalie’s already-defined play space. I can move our black tri-fold board around the room, but the felt wall adds a permanent back-drop next to her black play mats.

It’s worth mentioning that the ability to process 2D images typically emerges in Phase II, but the images mean nothing to a child if they do not have firsthand, 3D knowledge of what they are looking at. As CVI teacher Ellen Mazel says about salient feature language,
“We must build concepts with direct teaching with hands-on experience with real materials in 3D. Providing learning materials in 2D without this direct teaching will not provide these concepts.”
For this reason, I try to pair what I show Rosalie on the wall with 3D objects she can hold. For example, I show her a light-up toy duck, describe it with salient feature language (“a duck is a bird that has a bill, webbed feet, and feathers”), and let her hold it. Then, I place it near the picture of the duck on the felt wall, point to the felt duck, and describe it as also being a duck (repeating salient feature language).


In short, a felt wall is versatile, easy to set up, and inexpensive to create. I spent about $10 to make something we can utilize for the foreseeable future.
Basic Materials Needed for Wall:
- 36″ x 36″ piece of felt ($4.29)
- Command Poster Strips (approx. $5)
Additional Materials Used for Felt Pieces:
- 9″ x 12″ felt pieces, assorted colors ($0.39 each)
- Scissors
- *Brown Bear Felt Pieces ($20)
Make sure you check out the Salient Features Collaborative, which is based on the work of Christine Roman-Lantzy, PhD, and contains a sample Salient Features Dictionary.
*This post contains affiliate links. As an Amazon Associate, I earn from qualifying purchases at no cost to you.
2 thoughts on “Creating a Felt Wall”